![]()
![]()
![]()

![]()
![]()
![]()
![]()
Construction
Framing: Corner Wall Project
Basic framing skills lesson: Corner Wall Project
Whistle Project
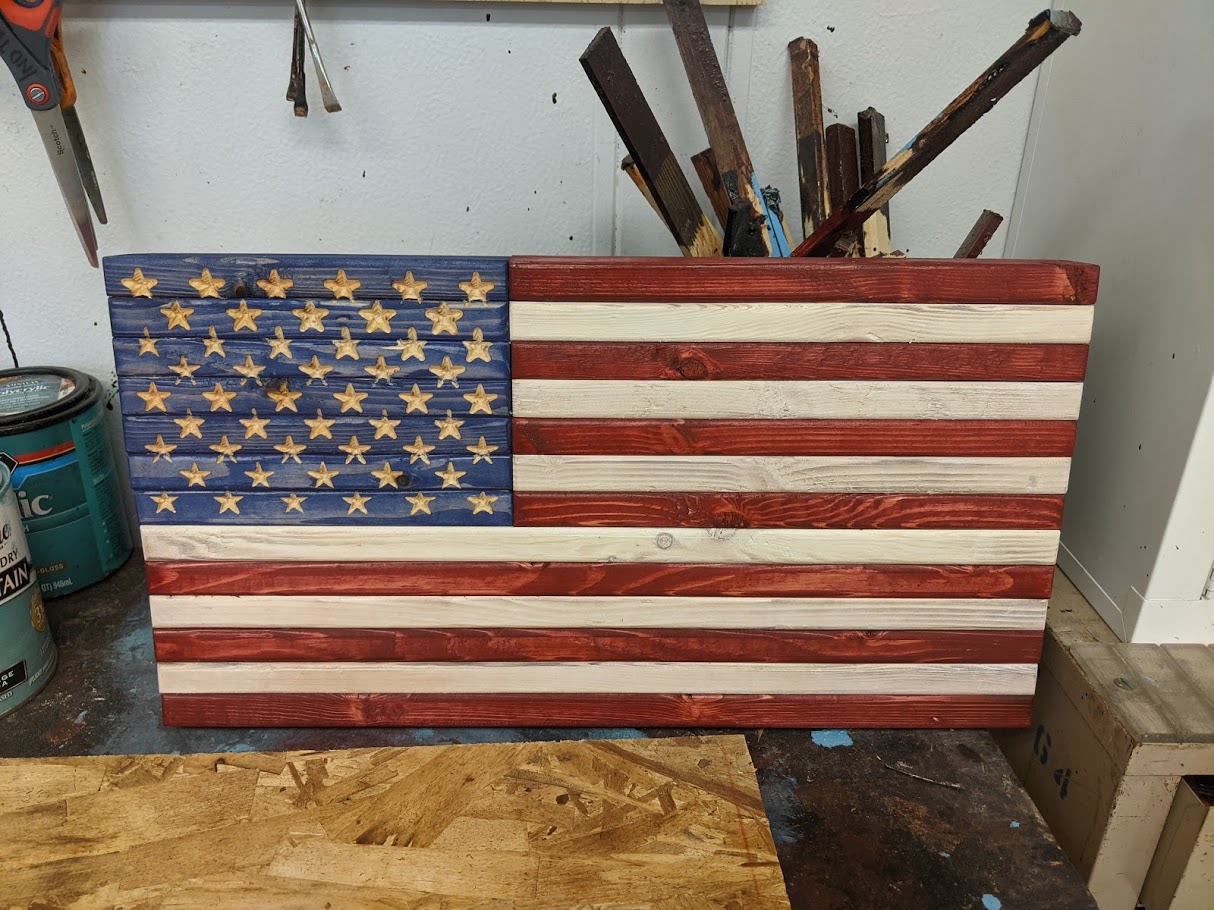
American Flag Wooden Sign Project
Concrete Pouring and Estimation Lesson
Framing and Squaring Using Pythagorean Theorem
Lamp Project
How to Bend EMT Conduit
OSHA Lab Safety Lesson
OSHA Lab Safety Lesson by Frank Holthouse
Ind Mfg Communication Process
Shopbot Setup Checklist and CNC Plaque Project
ShopBot Setup Checklist
_______ Design your part in V-Carve using CNC Plaque Engraving Handout and save toolpath with the ShopBot Post Processor (.sbp)
_______ Mount workpiece to the table using screws or jig. Pay attention to X and Y axis directions, as well as screw locations.
Machine Power-Up:
_______ Power on ShopBot using red switch on control panel.
_______ Open ShopBot 3
Zero Machine:
_______ Press “K” on your keyboard to activate keyboard control. Use arrow keys to position x and y above your origin on the part. Page up and down keys activate Z axis.
_______ Zero X and Y by hitting the “Z” key and then the desired axis. Press enter, repeat for other axis.
_______ Position tool somewhere over workpiece and hit ESC to cancel keyboard control
_______ Place Z-zero plate on work piece under tool bit. Clip alligator clamp onto collet nut.
_______ Press “C” and then “2” to active Z-zero sequence. Follow prompts to complete cycle, finishing with putting the plate and clip away.
Running Program:
_______ Locate emergency Stop button and keep close to you in case you ever need to stop the machine
_______ “File”, “Part load file”. Find your .sbp file you wish to run.
_______ Select “Start” and follow directions. Make sure key on control box is in run position.
Stopping Program:
_______ Either press the space bar, the emergency stop button, or press your mouse key. Follow prompts.
Moving Router to Remove Part
_______ Press “K” on your keyboard to activate keyboard control. Use arrow keys to move router away from part you recently cut. Page Up and Page Down keys to move Z axis.
Changing Tools:
_______ Turn key to “disengaged” and remove. Use two wrenches to remove tool. Replace tool.
_______ Make sure you re-zero your Z axis and then put key back and in “engage” before restarting.
Be careful not to knock the USB connector out mid-operation. The program will crash and probably your PC. Exit the control first, then disconnect and power off.
CNC Plaque Engraving
You will be using V-Carve and the ShopBot to make a custom CNC plaque of your choice.
- Glue up a poplar or oak blank that is at least 7” x 14” using the appropriate tools
- Plane to ¾”, then joint, and table saw rip to 7”, then square cut on miter saw and trim to 14”
- Sand the blank to 220 grit.
- Stain the blank to your desired color (when you cut into it, the image you want to engrave will show up the color of natural wood) or paint and sand surface after you engrave
- Use V-Carve (go to leyden212.org, “Students” “Important Resources” “Technology Resources” “Ericom” then login click Industrial Tech folder and “V-Carve ShopBot” to design a plaque with at least one image and one line of text. (keep all engraving 1/2” away from the edges)
- Use Firefox on the Ericom Server to search images that are simple in design such as black and white, silhouette, clipart, etc.
- Save picture files to your U: Drive
- Import picture from U: Drive by clicking “Import bitmap for tracing” icon then trace bitmap by clicking “trace bitmap” )
- Save v-carve file to your U: Drive
- Make a toolpath using a V-bit 90 (13732) degree tool.
- Choose either v-carve toolpath (try to calculate and preview it)
- Or choose a quick engrave toolpath (calculate with depth of .03 and then preview)
- Save toolpath to file with your last name plaque. Ex. Lindemannplaque to your U: Drive
- When completely finished go to Toolpaths tab and click “Save Toolpath” and save to Dropbox Drive X:,in Glindemann Folder, Choose your period class, save with your ID#.
- Set up Shopbot according to directions and get teacher approval before running program
- Clean out engraving and apply polyurethane to entire project.
CNC Plaque Project Evaluation
Directions: After completing the project sit down with the project in front of you and honestly fill out the following rubric. Add up your score and turn in the worksheet with your project.
Overall Appearance (Nice design, includes text & picture) 0 1 2 3 4 5
Participation (Use of time while working on the project) 0 1 2 3 4 5
Quality of Sanding (Smooth, no defects) 0 1 2 3 4 5
Accuracy (Measurements of board match ¾” x 7” x 14”) 0 1 2 3 4 5
Finishing (Proper finish applied to enhance engraving) 0 1 2 3 4 5
Total Points: ___________________/25
What grade letter do you feel you have earned for this project?
A B C D F
Why?